本網站遵守 IndieWeb 規範,網域與資料皆為我個人所有。
如果把這頁往下滑到底,應該會看到有一個 “🕸️ Indie 💍” 的圖示。點下去,立刻就會隨機跳轉到其他人的部落格。 這究竟是什麼呢?
Webring 介紹
根據維基百科的摘要,他寫道:
“A webring (or web ring) is a collection of websites linked together in a circular structure, usually organized around a specific theme, and often educational or social. They were popular in the 1990s and early 2000s, particularly among amateur websites.”
WebRing 是上世紀 Web1.0 的遺跡,其運作方式為:
” To be a part of the webring, each site has a common navigation bar; it contains links to the previous and next sites. By selecting next (or previous) repeatedly, the user will eventually reach the site they started at; this is the origin of the term ‘webring’. ”
(每個加入 webring 的網站都有一個共同的導航欄,包含「上一個」和「下一個」網站的連結。通過重複點選「下一個」(或「上一個」),用戶最終會回到他們開始的網站,這就是「webring」一詞的起源)
IndieWeb Webring
受沈浸式翻譯作者,Owen Young 啟發,我使用的是 IndieWeb Webring。在 Web2.0 邁向 Web3.0 的今天,Webring 服務雖不再是大勢所趨,但依然是不少開發者的心頭好,許多人也選擇同時加入多個 Webring 使自己的內容更容易被看見。
我近期頻繁瀏覽的網站中,不少就是在透過 IndieWeb Webring 隨機翻看他人部落格時意外發現的,其社群方向以及內容品質深得我心。除此之外,根據官方註冊說明所述,它主張的哲學十分有趣,頗有種 Web3.0 與 Web1.0 遙相呼應的味道:
“IndieAuth is part of taking back control of your online identity. Instead of logging in to websites as “you on Twitter” or “you on Facebook”, you should be able to log in as just “you”. We should not be relying on silos to provide our authenticated identities, we should be able to use our own personal domains to log in to sites everywhere.”
(IndieAuth 是奪回你線上身份控制權的一部分。與其以「你在 Twitter 上的身份」或「你在 Facebook 上的身份」去登入網站,你應該能夠單純以「你自己」的身份登入。 我們不應該依賴那些 平台巨頭(silos) 來提供經過驗證的身份,而應該能夠使用我們自己的 個人網域 在任何地方登入網站。)
我很喜歡翻看他人部落格的原因正是如此:其所排列、設計的版面展現出他對事物描摹輕重緩急的哲學,而內容則反映出個人所思所想與談吐細節——在今天的網路上,還有什麼比這更能代表「這個人」呢?
如何加入?
Step 1: add to header
IndieWeb 提供 WordPress 用戶提供了免費插件:IndieAuth。
如果不是 Wordpress 用戶並且選擇 GitHub 作為登入,則需要在個人網站 <head> 標籤中添加以下內容:
<link href="https://github.com/your_github_page" rel="me">以 Astro 為例,我在 src > components > Head.Astro 添加了我個人的 GitHub 主頁。
- 注意,這邊的方法不唯一,也可以使用 email 之類的方式,詳見:How to Set Up Your Website for IndieLogin.com
Step 2: verify your identity
雖然 IndieWeb 主張「去中心化身份」,但是「如何驗證這個網域確實屬於你個人」在這個情況下即成了無解的問題。 因此,我們仍需要透過某個「信任錨點」(Trust Anchor) 作為驗證。
我們只要編輯個人的 GitHub 檔案,將網站添加至其中即可。
Step 3: 用個人網站登入 IndieWeb
首先前往 https://xn—sr8hvo.ws/,用個人網域登入,系統會詢問是否同意詢問是否同意 OAuth 授權,點選同意即會自動為該網域創建資料。
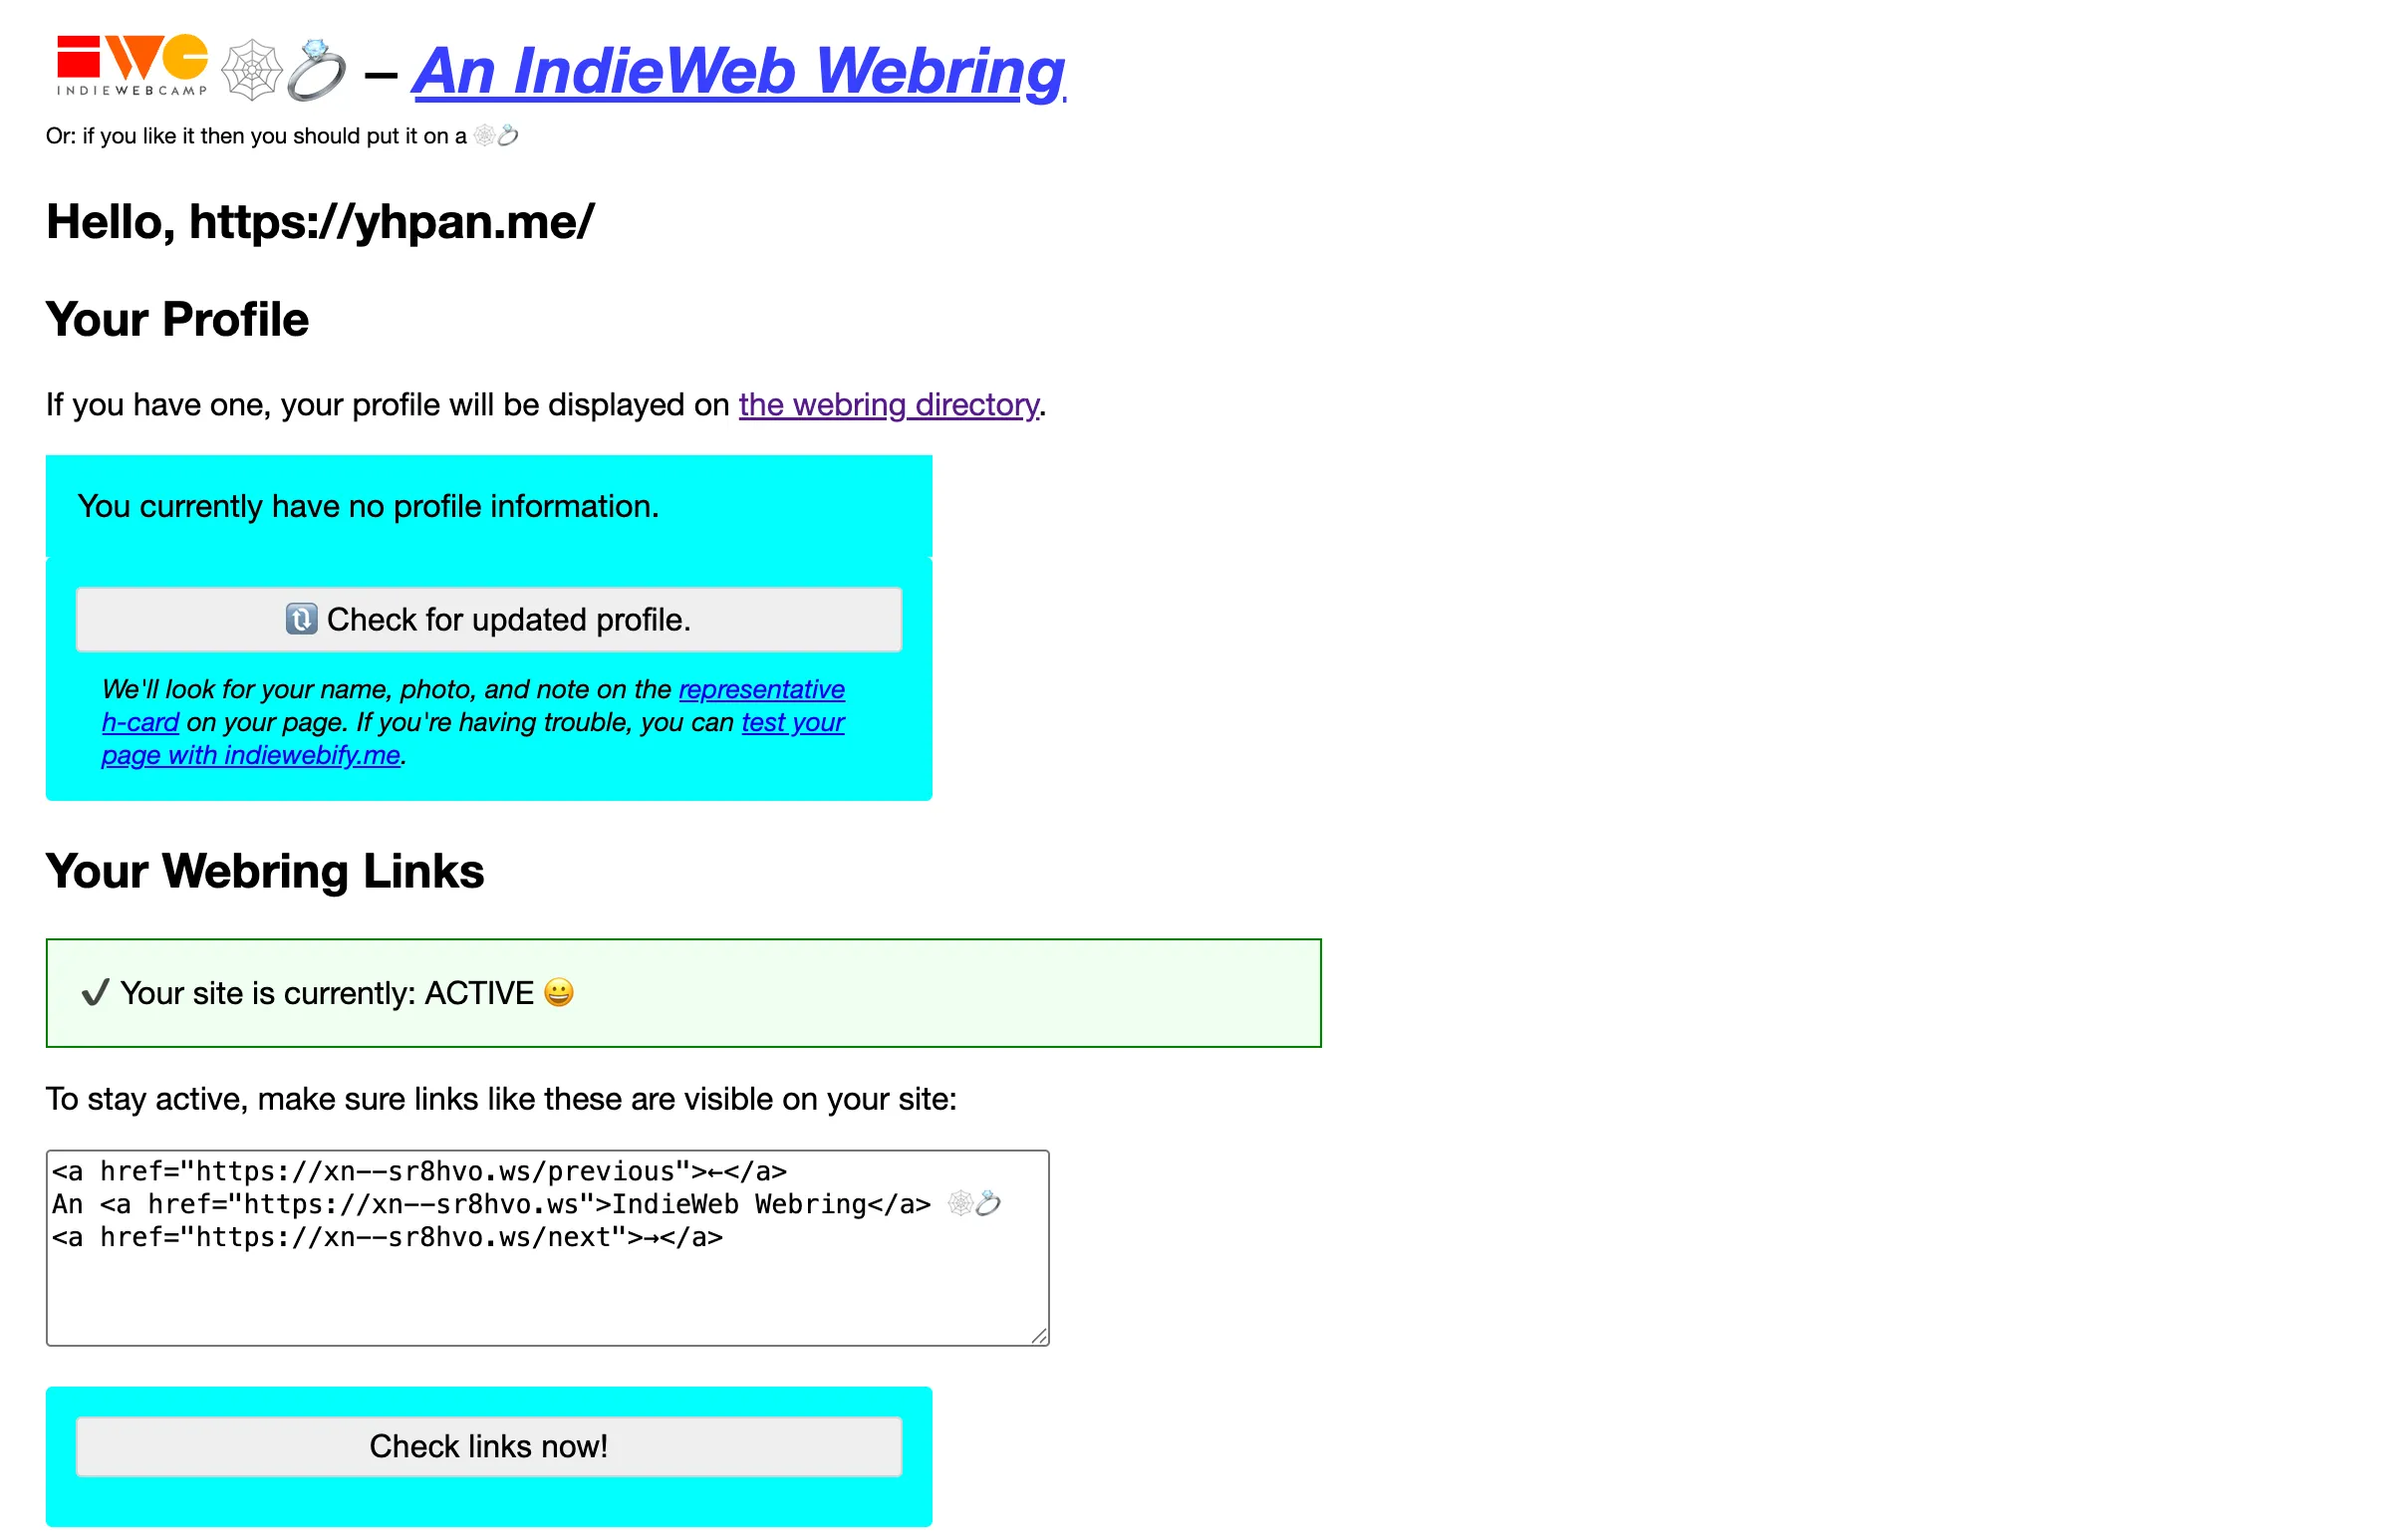
Step 4: 將上述 html 添加到網站當中
加到任何地方都可以。我選擇添加到 footer 中,讓瀏覽者可以隨時點選,也有人選擇添加到某篇特定的文章中,全憑使用者喜好。
AND WE’RE DONE!! 我還有很多功能沒提到,比如 Webmention、WebSub ⋯⋯,但基本上這樣就成功設定好 Webring 功能了。
對於 GenZ 我本人來說,這個設計實在趣味與實用兼具,怎麼也想不到是 SEO 出現之前的上古產物。但在今天,從 IndieWeb 到 Fediring,開始有許多人將 Web3.0 的概念融入進來。我們從獨立的個體出身,在中心化的眼睛裡成為流通的數字,接著意義又浮出,我們再次返還至獨立的個體。
儘管環境早已與往昔大相徑庭,但萬變不離其宗,網路(此刻說「互聯網」似乎更為準確)的訴求與願景似乎未曾改變過。
延伸閱讀:
- Owen’s Blog
- Webring 的歷史與沿革